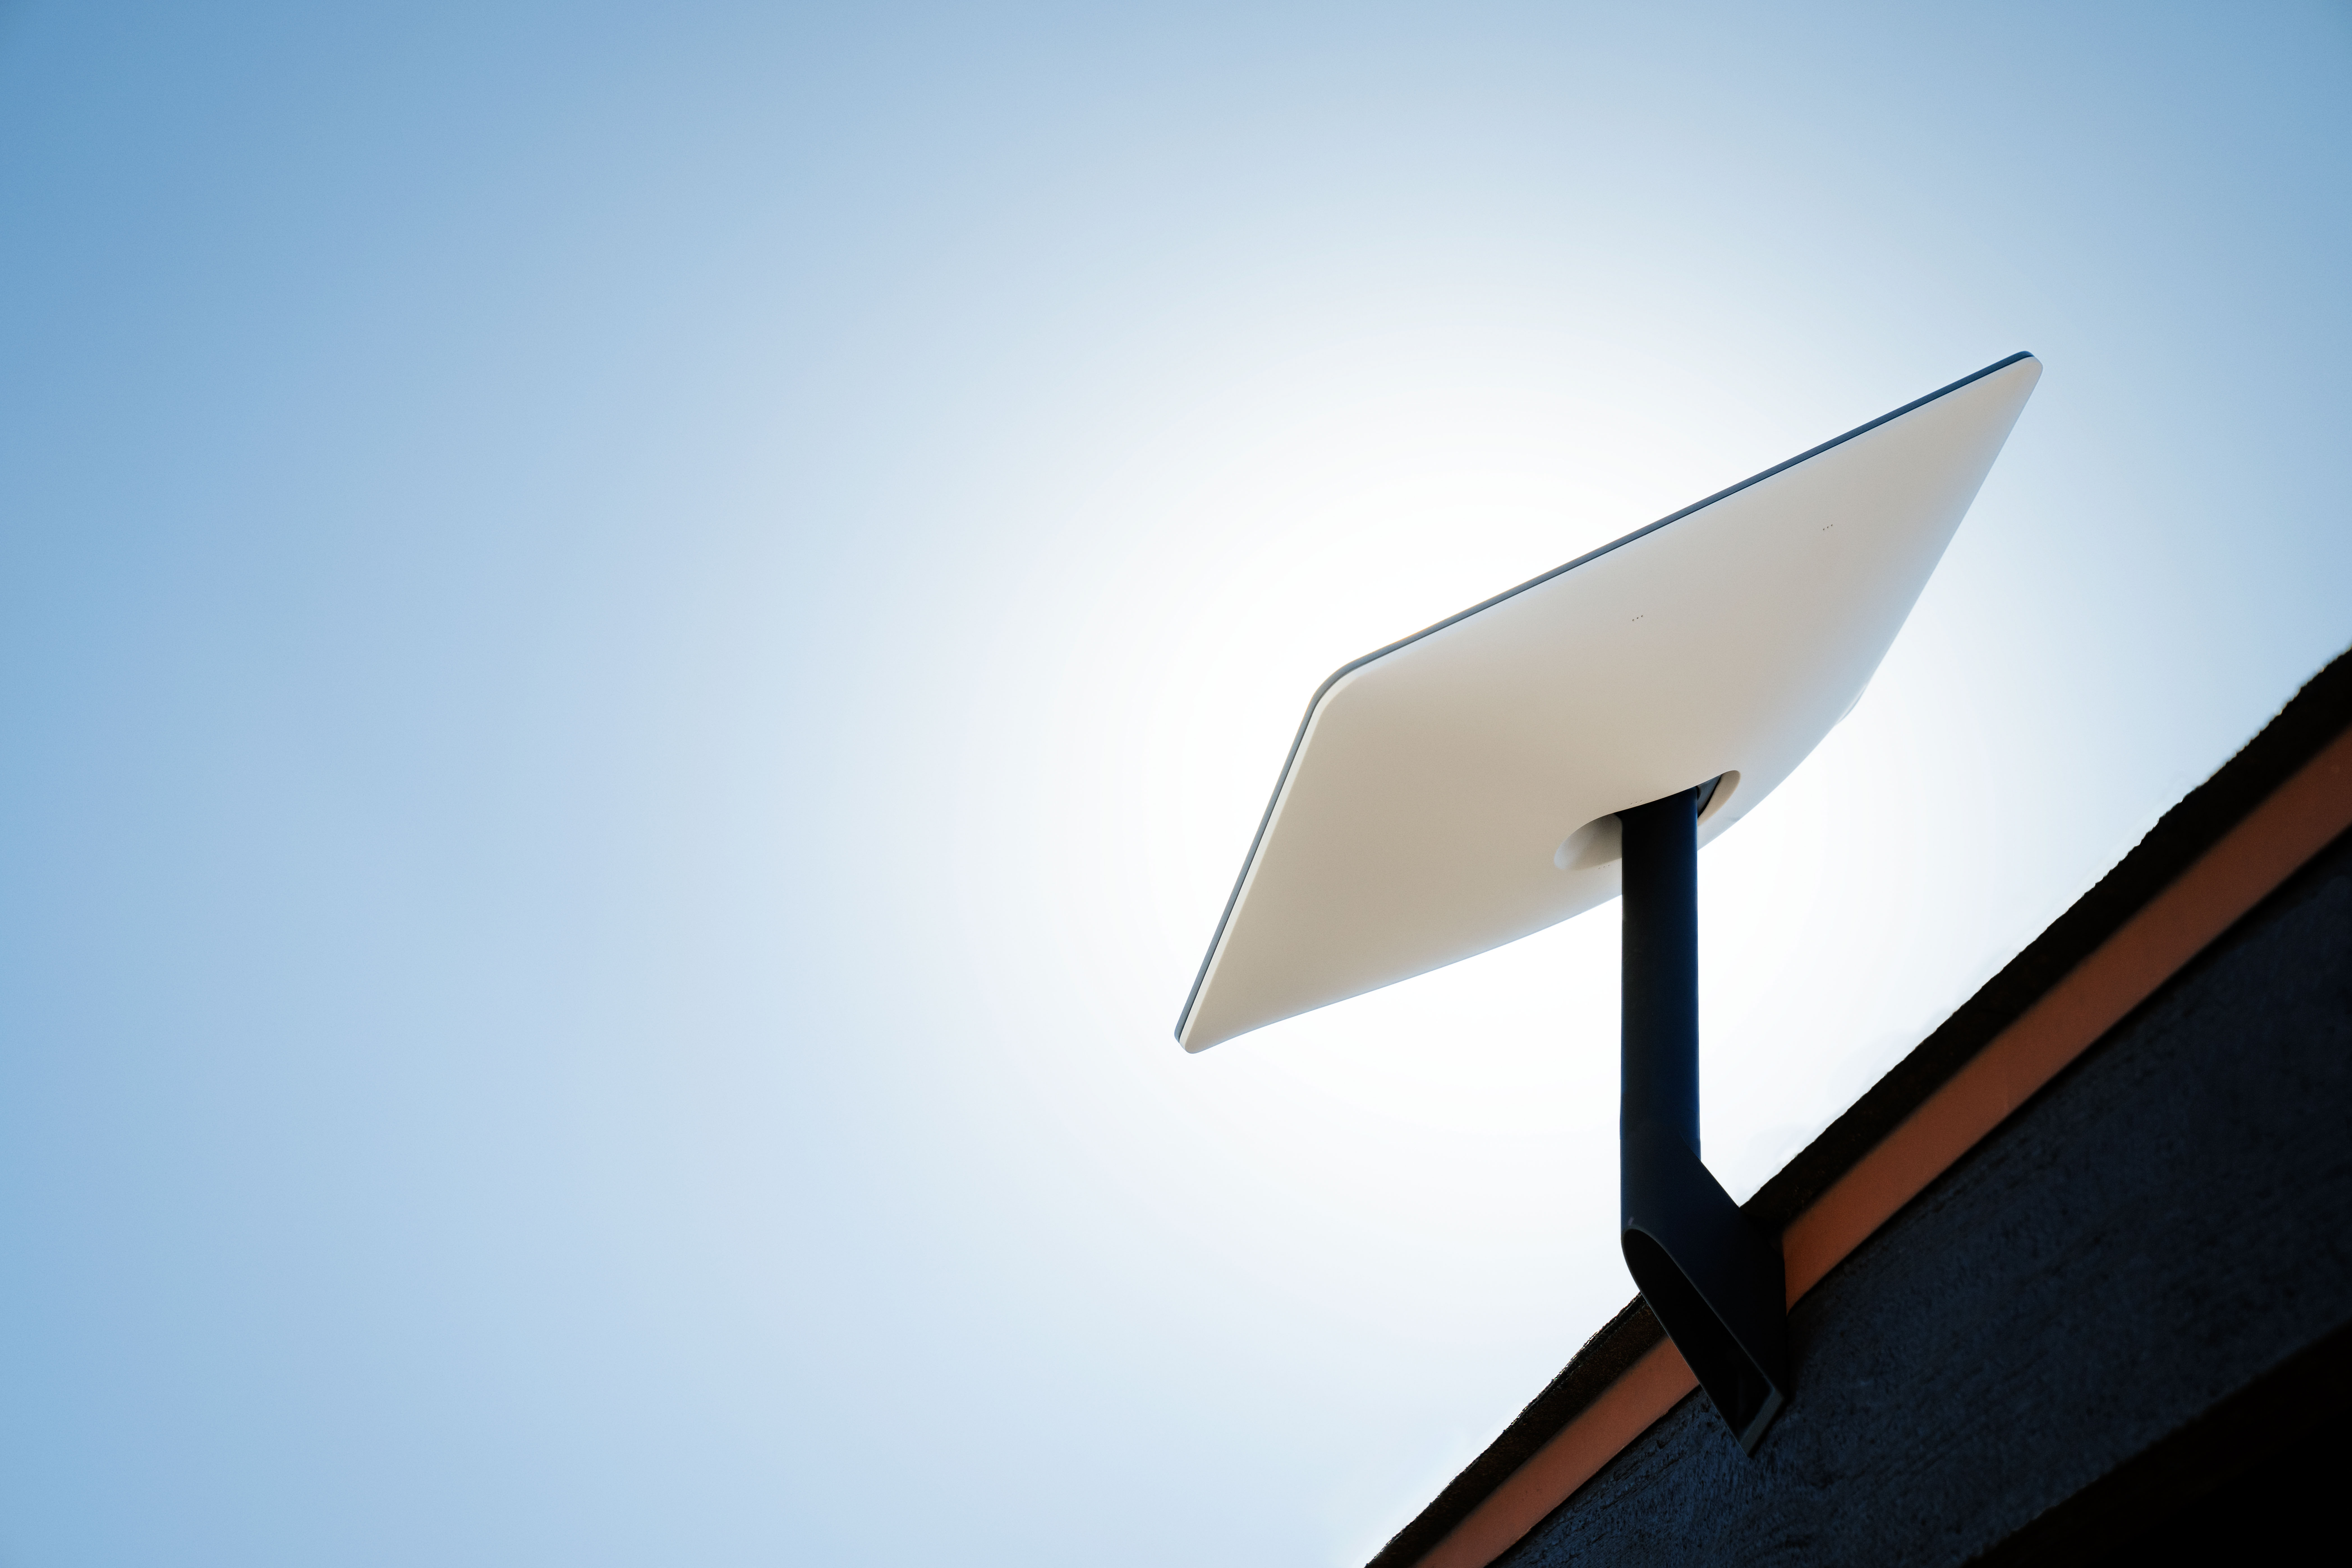
Permanent Installation
After you have completed your quick start setup and confirmed your internet is working, best practice is to consider how to permanently mount your Starlink to avoid obstructions, route your cable to the ideal spot for the WiFi router, and decide what other accessories you may need for a secure setup.

Installation Best Practices
- Mounts are designed for self-install, but if you are uncomfortable, call someone/be safe
- Use the Starlink App: Check for obstructions on the app before you begin to understand what area needs to be clear to avoid incorrect installation.
- Quick Start First: Perform a quick start setup with Starlink on the ground before you permanently install to confirm functionality and the desired tilt direction.
- Avoid Cable Damage: Your Starlink includes a 50 ft custom cable
- Do not significantly bend, twist, or force your cables through holes
- Do not drag or bump the ends of the cable while routing.
- Do not install the cable fully taut
- Ensure the connector and the cable ends are free of moisture during install. Do not leave the components outside in the rain until everything is fully plugged in.
- The cable routing kit, available on the Starlink shop, includes a protective routing device.
- Install Vertically: For best results, Starlink should be installed as close to vertical as possible (eg. not mounted horizontally to the side of a wall without the proper mount)
- Ensure Starlink is installed on a flat, horizontal surface if possible. Starlink performs best when the mast is as vertical as possible (within 35 degrees of vertical). Note - If the mast is horizontal, the Starlink will be constantly searching for the field of view overhead, and the motors may be impacted over time.
Updated over 2 years ago
